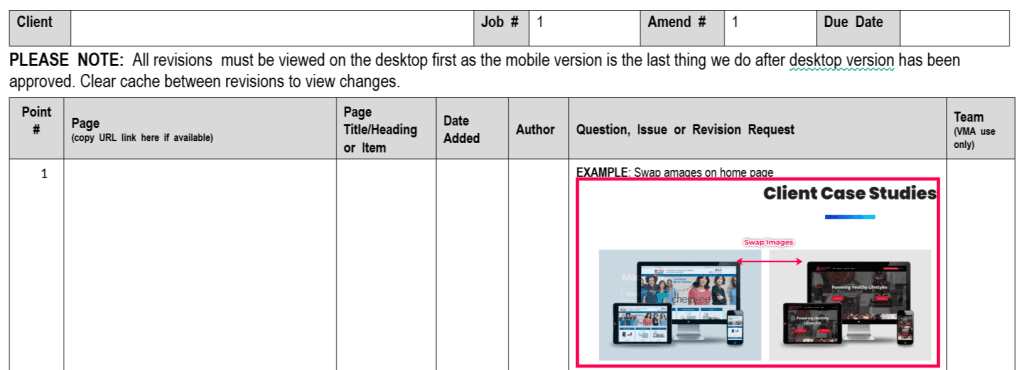
Lesson 2.2: Using Zoho Annotator
In this lesson, you will follow a step-by-step guide on how to use Zoho Annotator to add images to Zoho Revision Forms.
Step 1: Install Zoho Annotator extension, click the link provided. (Screen Capture and Annotation Software | Zoho Annotator), after downloading you should see the annotator icon above your browser.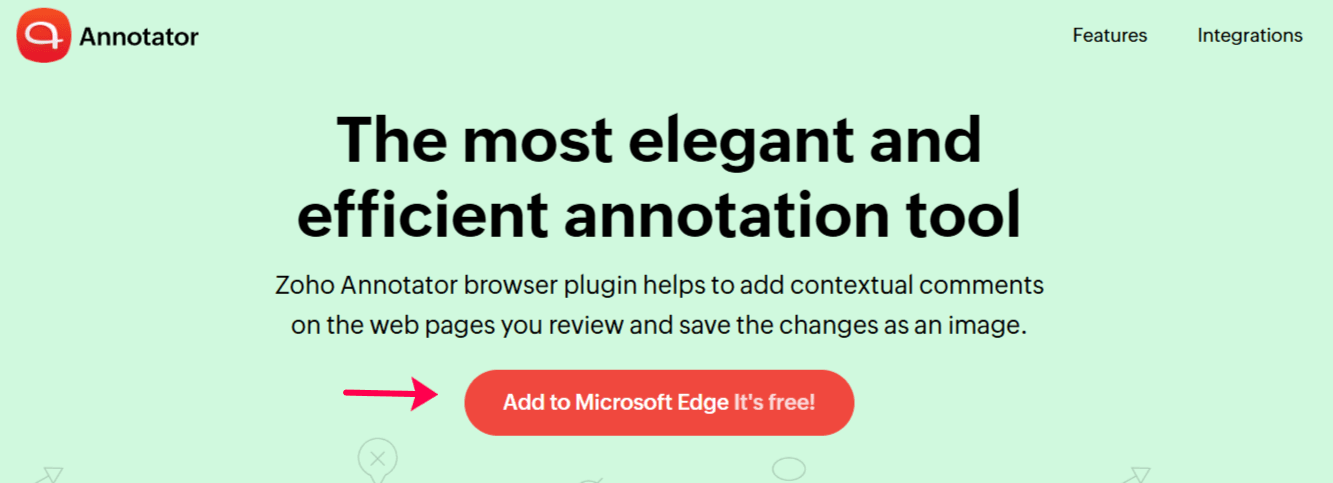

Step 2: Select the project page you want to revise, then click on the annotator tool to take a screenshot. If you are satisfied with your screenshot, click the “Capture” button to proceed; otherwise, click the “X” button to retake the screenshot.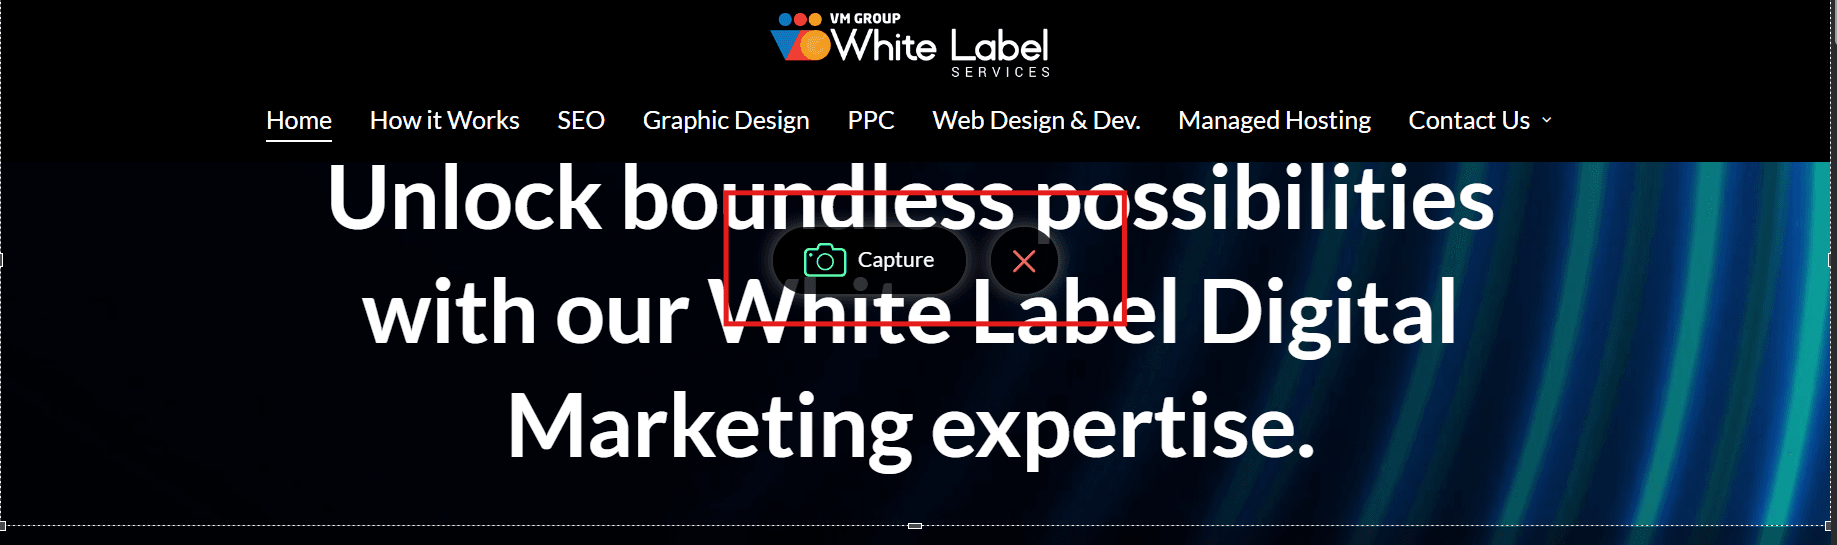
Step 3: On the left side of the screenshot, you’ll find tools to customize your image and add details to your request, including shapes, arrows, drawings, and text.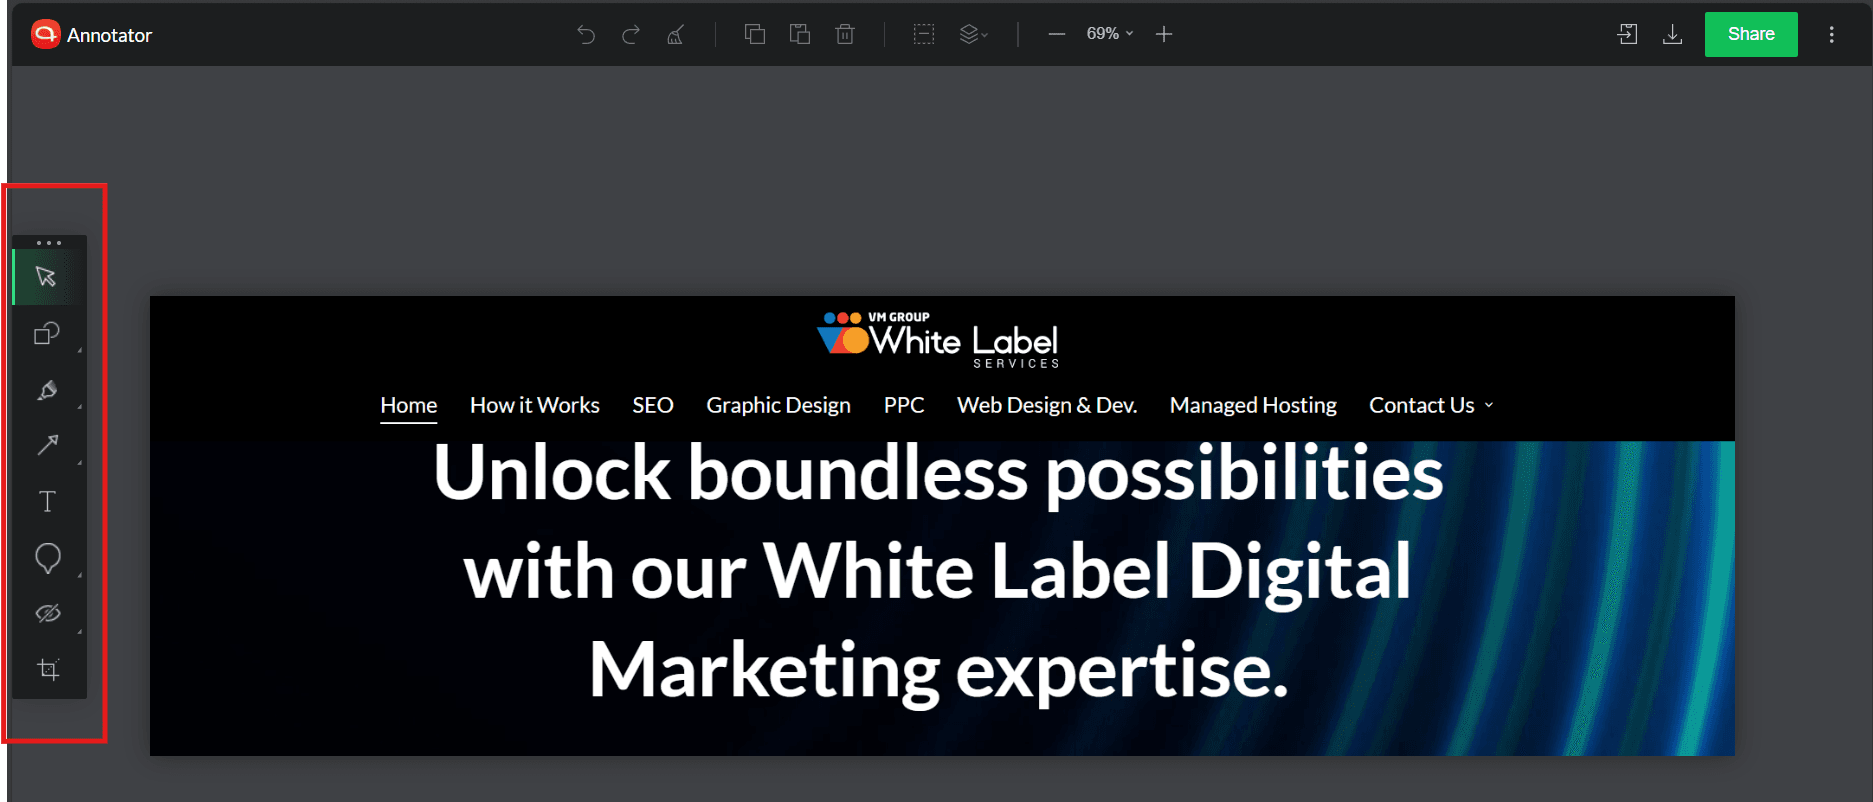
Step 4: Above, you can choose tools to undo, redo, or delete your screenshot, as well as to zoom in and out of your image, Or duplicate your added shapes/texts.
Step 5: Once you’re satisfied with your image, you can save it using the options on the right side of the Annotator Tool: download it, share it with another Zoho account, or copy and paste it into the document.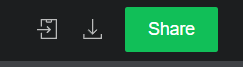
Step 6: In this case, select the copy tool to copy your image to clipboard. Go on your revision form file and paste the screenshot of your request.