Lesson 2.2: Using the Navigation Menu
Step 1: Accessing the Navigation Menu
- Location:
- The navigation menu is on the left side of your screen when you log in to Zoho Projects.
- Use:
- Click on any section (e.g., “Dashboard,” “Tasks”) to access that part of the project.
Step 2: Key Sections for Client Users
Dashboard:
- Purpose: Provides an overview of your project’s status.
- Action: Regularly check the Dashboard for updates on tasks, milestones, and recent activities.
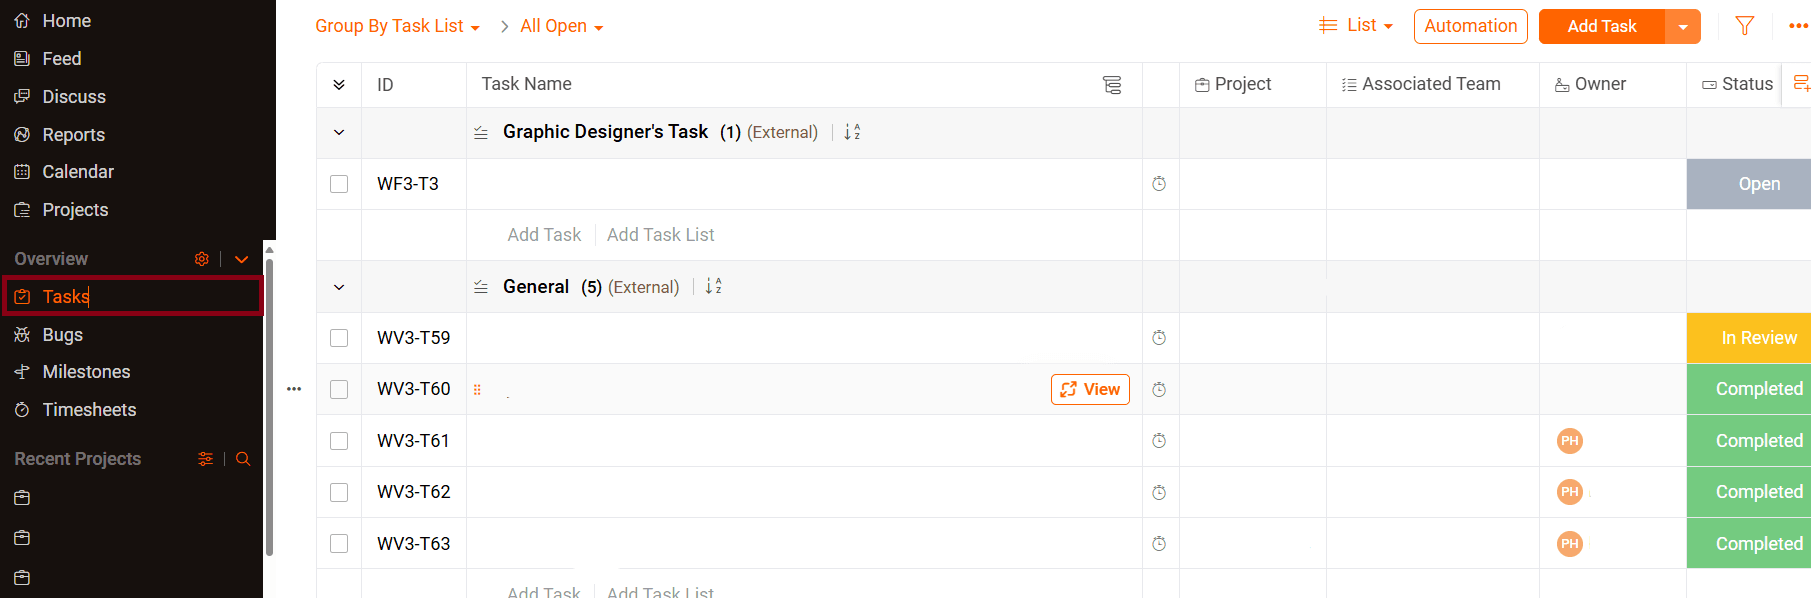
Tasks:
- Purpose: Displays all tasks related to your project.
- Action: View task details, track progress, and leave comments if necessary.

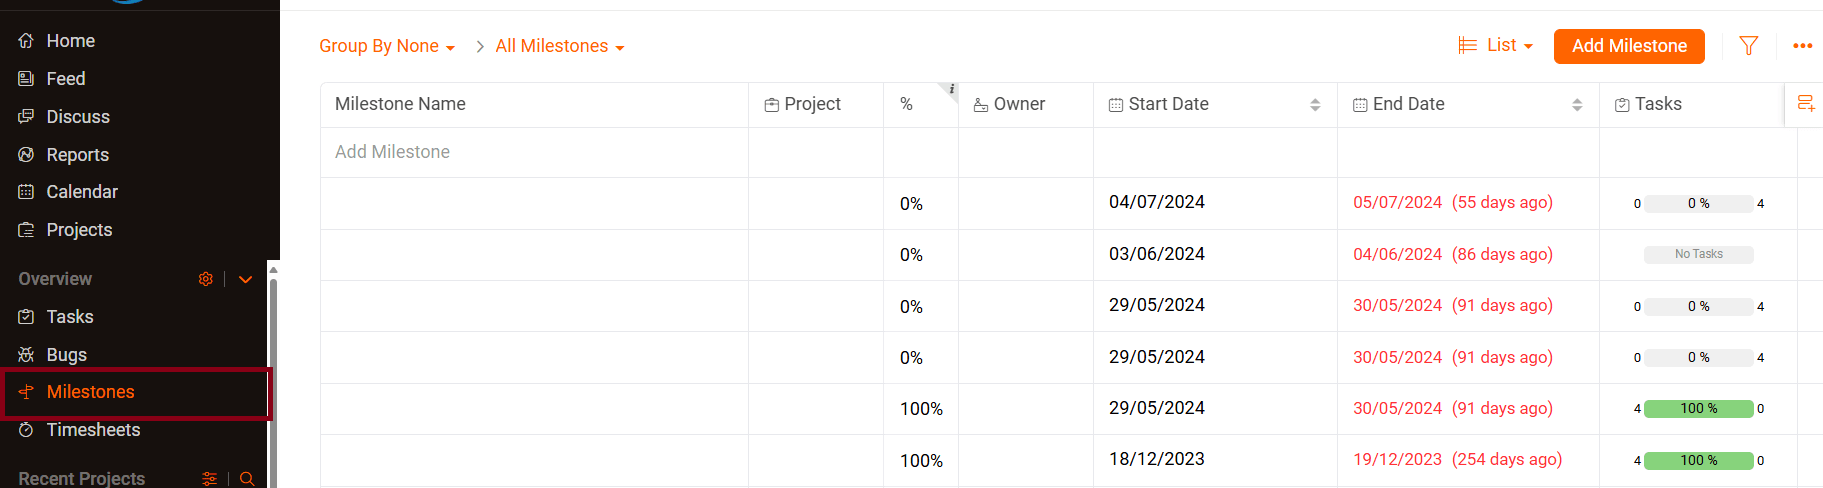
Milestones:
- Purpose: Shows important project dates and goals.
- Action: Monitor milestones to ensure the project stays on track.

Documents:
- Purpose: Centralises all project-related files incl. content, images, download, Project Briefs or Scope etc..
- Action: Upload, download, and organise files relevant to the project.
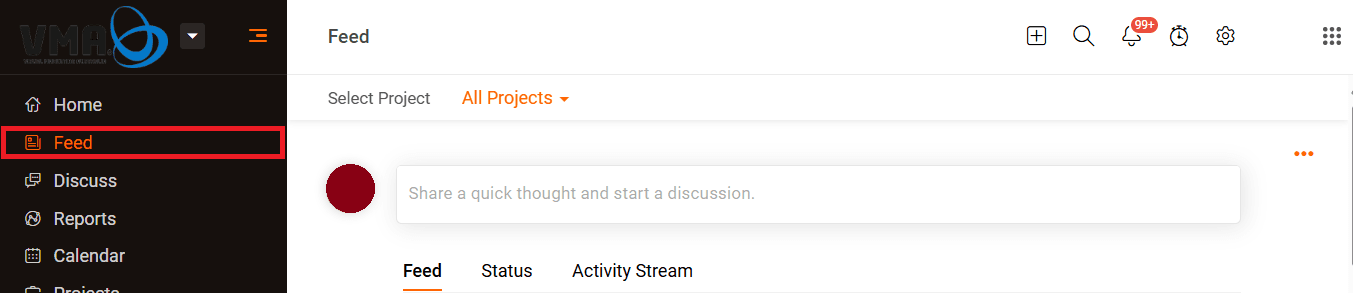
Feeds:
- Purpose: Acts as a communication hub for project updates and discussions.
- Action: Stay engaged by reading and posting updates or questions.

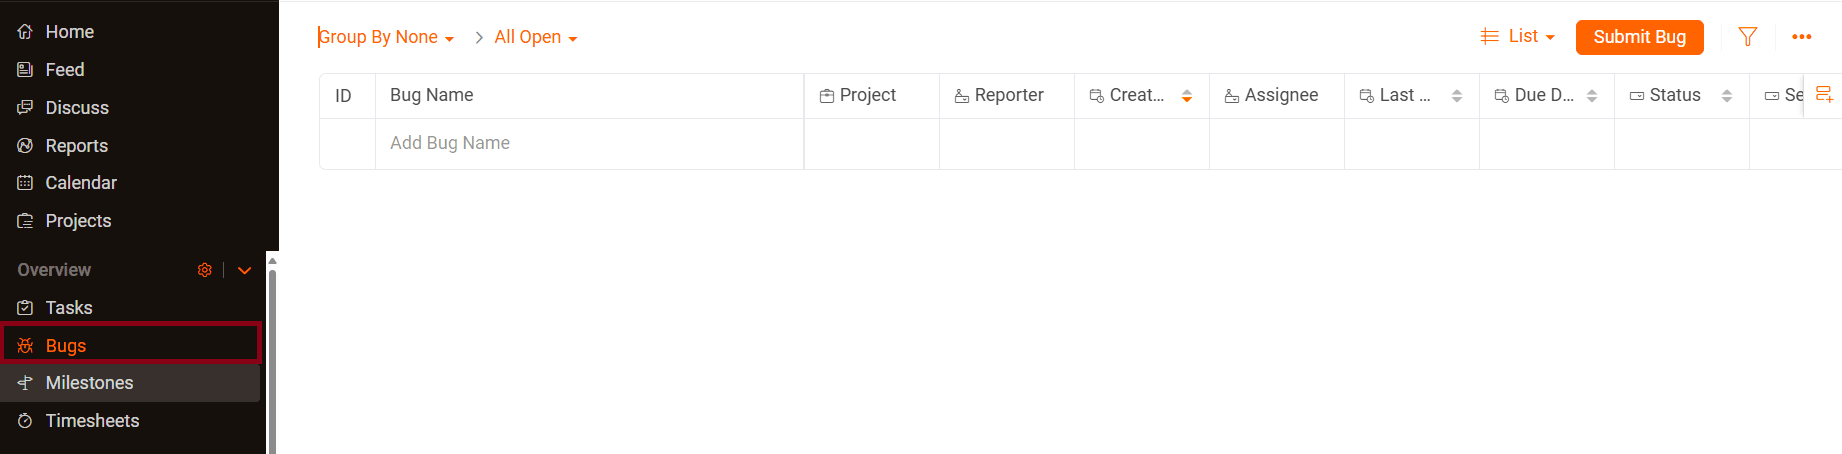
Bugs
- Purpose: helps the teams track and manage website bugs or issues that arise during website development process.
- Action: click on a specific bug to view detailed information about the bug, users can also assign bugs to members allowing responsibility and ownership.

Project Overview
- Purpose: helps users to view the list of recent active projects.
- Action: select on the specific project to view project details and manage project.


Step 3: Navigating and Customising the Menu
- Switching Sections:
- Simply click on the desired section (like “Tasks” or “Milestones”) to navigate.
- Customising the Menu:
- Pin important sections to the top or reorder them for easier access.
- Pin important sections to the top or reorder them for easier access.
Step 4: Tips for Effective Use
- Stay Updated:
- Regularly visit “Tasks” and “Milestones” to keep track of progress.
- Communicate Clearly:
- Use “Feeds” to share updates and ask questions, ensuring smooth communication.
- Organise Files:
- Keep project documents in the “Documents” section for easy access.